


In this article, we will learn about Version Management In Flutter. In this, we will see how to set up and work on version management in a flutter. So let’s get started.
Before, we understood what is Flutter Version Manager (FVM) and how to be used. First, we need to understand, you really need this or not version management?
Why do we need Version Management in Flutter?
When working on Flutter projects, you may need to switch between different SDK versions to validate and test upcoming Flutter releases with your apps, which is very tedious and time-consuming. This is where Version Management comes to the rescue.
Which provides us with different types of Flutter versions for our machines. So that each time, Flutter can test the app against the updated Flutter release without waiting for installation and will be able to switch to the Flutter version accordingly.
How we performed version management
Actually, there are two ways to do this,
- Naive Approach (via aliases)
- Tool base (via FVM)
Naive Approach
It doesn't matter which operating system and which shells you are using, alias, all the same, some here and there technically.
Suppose this is your base directory for Flutter SDKs.
$HOME/dev/flutter_sdks
And here you download different channels to flutter SDK
cd $HOME/dev/flutter_sdks
git clone -b stable https://github.com/flutter/flutter.git flutter_stable
git clone -b beta https://github.com/flutter/flutter.git flutter_beta
git clone -b dev https://github.com/flutter/flutter.git flutter_dev
git clone -b master https://github.com/flutter/flutter.git flutter_master
Now it's time to check everything present in your base directory.
 ╭─adityaa@naveen in ~/dev/flutter_sdks
 ╰─λ ls
flutter_stable
flutter_beta
flutter_dev
flutter_master
Now it's time to aliases, open your .bashrc, .zshrc, config.fish, or whatever.
vim ~/.bashrc
# flutter sdks alias
 alias flutter="$HOME/dev/flutter_sdks/flutter_stable"
 alias flutterb="$HOME/dev/flutter_sdks/flutter_beta"
 alias flutterd="$HOME/dev/flutter_sdks/flutter_dev"
 alias flutterm="$HOME/dev/flutter_sdks/flutter_master"
Now you can use the naive version through aliases
Note! You can not only clone branches but also clone versions via a tag.
Tool based
Flutter Version Manager is a very important and easiest way to manage multiple Flutter SDK versions and channels without going into the complete installation setup whenever we need to access some other version for our projects.
FVM follows the same principle as our aliasing approach but the only difference is that FVM global Config and default directory use a symbolic link to a particular Flutter version.
Steps For Installation Of Flutter Version Manager
First step is to check that Flutter, is installed or not on our system, to work on FVM. Run the following command on your terminal-
flutterIf the Flutter, is already installed on your system, it will show us some common commands used in Flutter.
In addition to this, if you want to know your Flutter version, you can run the command.
flutter --versionThis command will return the exact version of Flutter and Dart installed on our system.
Now, in the next step we will have to activate FVM on our system, for that we will have to run the command
pub global activate fvm⚠️ Do not activate FVM using flutter pub global activate if you plan on using the --global flag. Only activate FVM using pub global activate fvm.
Read dart.dev docs for more info on how to run global dart scripts.
We will now see that some warnings are given at the end of the installation process, so we need to add the fvm path to the shell configuration file (.bashrc, bash_profile, etc.) before taking the next step
export PATH="$PATH:`pwd`/flutter/bin"
export PATH="$PATH:`pwd`/.pub-cache/bin"
Now, the warning will be removed. For verifying that FVM is now completely activated, we will run the
$echo PATHcommand, which will give us the path for the same.
SDK Version Install:
FVM allows us to install multiple types of Flutter releases or channels.
version- usestableto install the Stable channel andv1.8.0or1.17.0-dev.3.1to install the release.--skip-setup- will skip Flutter setup after install
fvm install <version>
Project Config SDK Version:
After that, we will see whether the project is configured to use a specific version or not. If not, we will install it on the appropriate version without arguments.
fvm install
Use an SDK Version
You can use different Flutter SDK versions per project. To do that, you have to go into the root of the project and:
fvm use <version>
If you want to use a specific version by default in your machine, you can specify the flag --global to the use command. A symbolic link to the Flutter version will be created in the fvmhome folder, which you could then add to your PATH environment variable as follows: FVM_HOME/default/bin. Use fvm use --help, this will give you the exact path you need to configure.
Flutter Installed Versions List:
Now by typing in the following command, we can list the installed version on our machine by using the below command. FVM will store the SDK version.
fvm list
Upgrade SDK Version:
Using the upgrade SDK version command, when we need to upgrade our current SDK version, so you have to call the command of your flutter SDK as in normal flutter installation.
fvm flutter upgrade
Set Up IDE:
Now we will see how to configure IDE. Below, we have shown how to configure the Android Studio and VS Code. Let's see it now.
⇒ Android Studio:
In your root project directory, copy the absolute path of the fvm symbolic link.
Example: /absolute/path-to-your-project/.fvm/flutter_sdk
After that, we will open Languages and Frameworks in the menu of Android Studio → Now, search for flutter and change the path to flutter SDK path. Now you can run it with selected versions of Flutter and debug it.
⇒ VS Code:
Now we will configure VS Code, here we will see how to complete the VS Code process.
Add the following to your settings.json. This will list all Flutter SDKs installed when using VSCode when using Flutter: Change SDK.
Use fvm list to show you the path to the versions.
List all versions installed by FVM.
{
  "dart.flutterSdkPaths": ["/Users/usr/fvm/versions"]
}
You can also add the version symlink for dynamic switch ``` JSON { "dart.flutterSdkPaths": [".fvm/flutter_sdk"] }
Use FVM in Your Project
The goal is to apply a specific Flutter version to your project by using FVM.
Create a Flutter project in your development folder by executing
flutter create project_name: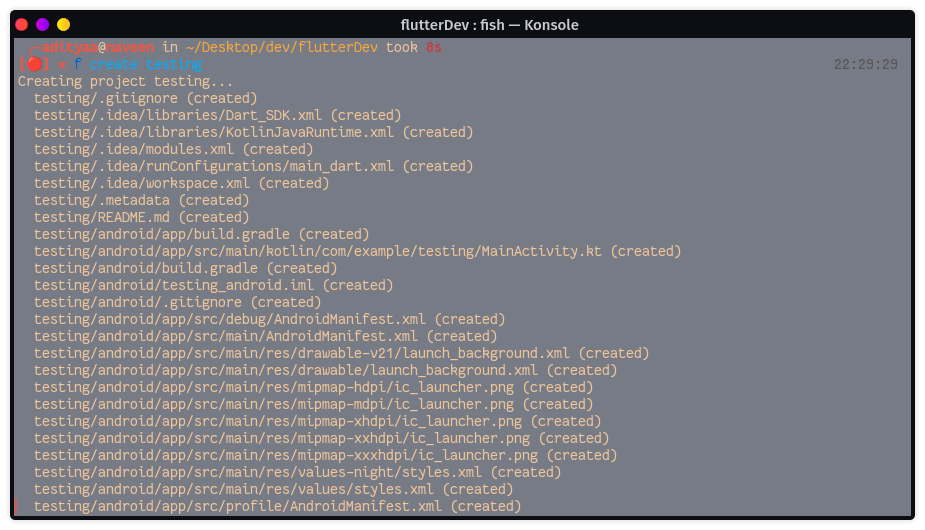
Switch to your project directory and execute
fvm use <version_you_want>:
If you run
fvm listonce again, you can see a tick mark oractiveby the version you are using in the project:
If you want more information and configuration of the fvm, see the official docs.
If I make any kind of mistake, let me know in the comment box and correct me. And I hope that you like and are helpful to you this article.